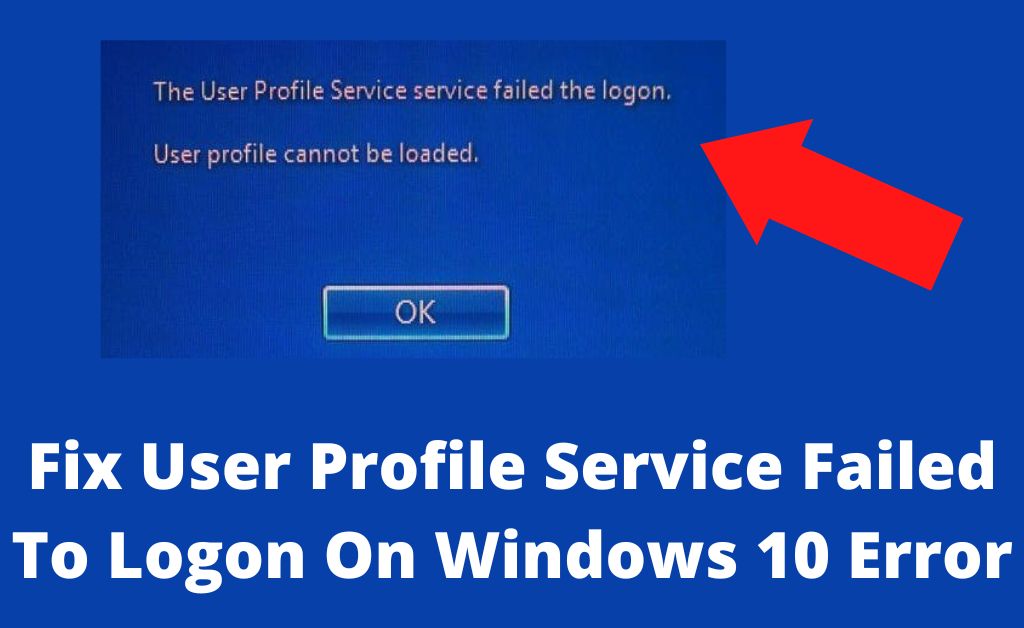
Windows 10 is a series of computer Operating System produced by Microsoft. We all know that Windows 10 is a Microsoft Operating System. It is, in fact, a safe and reliable system. Nowadays, Windows 10 users carry a big issue. In this upgrade version, there are many problems which you can notice. When you try to login to Windows 10, then an error message appears on the screen which is called ‘The user profile service failed to logon’. When you enter your computer password by typing there, you also face the error message that ‘The user profile cannot be loaded’. After that, the login screen is returned back again. So, this is a big issue to log in your device for users. You need to get rid of the issue by checking the issue.
Reasons For User Profile Service Failed To Logon On Windows 10
This error can happen due to some specific reasons which are mentioned below.
- A default profile- The default profile can be one of the main cause. It might be seen when you update Windows 10 with the old version of the Windows Operating System. As Windows 10 is making a new profile by creating files which are come from default profile that is corrupted.
- Your antivirus software is somehow problematic- If you scan your device with it while you try to login to a user profile. Then, your profile is corrupted.
Solutions To Fix User Profile Service Failed To Logon On Windows 10
Solution 1: Change the Registry
Sometimes your account is getting trouble in Windows 10. You can fix it by changing your registry. To do that, you always use safe mode to modify your registry. You also sign in as a different user to edit the registry. Taping on the Entering key, try to follow a few steps.
- First, restart your device to start the process.
- Then, tap on ‘Troubleshoot’ and ‘Advanced options’.
- Additionally, also click ‘Startup settings’.
- Now, restart your PC again and select ‘Safe mode with networking’ from the given list.
Now, you should be able to need a registry editor. So check this carefully:
- Press Windows key+R and select ‘Regedit’ option.
- Then, click on the link ‘HKEY_LOCAL_MACHINE\SOFTWARE\Microsoft\Windows NT\ CurrentVersion\ ProfileList’ by pasting it in the registry editor.
- After that, search the Default string there for changing it to %SystemDrive%UsersDefault.
- Now, you can close the Registry Editor and open your user account by login this.
Solution 2: Create A New User Account
We suggest that you may come out to the error which is totally affected users. Make sure that your account is running in safe mode. After that, read the instructions below.
- First of all, go to the Settings app and follow the accounts section.
- Next, click on the ‘Family and other users’ section and press ‘Add someone else to this PC’ option also.
- When another screen comes out, then select ‘I don’t have this person’s sign-in information’ option.
- Additionally, enter on ‘Add a user without a Microsoft account’ option by clicking it.
- Last, type a new username for the new account and give a password to secure it if you want. Then, click ‘Next’ option.
Now, you log in to your new account in Windows 10. Check if your problem is solved.
Solution 3: Delete The SID And Create A New Profile
Delete User Profile Via Computer Properties
- Write down ‘View advanced system settings’ in the search box and press ‘Enter’ on it.
- Then, tap on the ‘advanced’ tab in the properties dialog box and go to the ‘settings’ option.
- Go to the profile which you need to delete and remove it.
Delete SID and Create A New Profile
- First, open Register editor and look out for the registry subkey. After that, go to the SID by right-clicking on it and press ‘Delete’.
- Now, you create a new account and open it in Windows 10.
If you have faced the same error in your system, then try to follow the next methods.
Solution 4: Copy The Default Folder
The default folder damaged our profile while we log in on Windows 10. In that case, you solve the error by copying the default folder from another Windows system. Here is a procedure that helps to come out the error.
- Head over to the C:Users folder on your PC.
- Then, find the default folder or tap on the ‘View’ tab and see ‘View hidden items’ if the default folder is not there.
- Store the Default folder to your USB drive. Then, check your PC that is turn on Safe Mode.
- By clicking the Default folder rename it to Default.old to complete the process.
- Restart your PC and log in with your main account by pasting the Default folder.
Solution 5: Check Your Registry
You should check your registry once. So try to read given method attentively.
- Press Windows key+R and select ‘Regedit’ option.
- Then, type the link ‘HKEY_LOCAL_MACHINE\SOFTWARE\Microsoft\Windows NT\ CurrentVersion\ ProfileList’ in the registry editor.
- After that, visit the Default string there for changing it to %SystemDrive%UsersDefault.
- Now you can close the Registry Editor and open your user account by login this.
Solution 6: Use Windows 10 Safe Mode
- First, restart your device to start the process.
- Then, tap on ‘Troubleshoot’ and ‘Advanced options’ in a proper way.
- Additionally, also click ‘Startup settings’.
- Now, restart your PC again and select ‘Safe mode with networking’ from the given list.
Hope that you resolve the error completely.
Solution 8: Reset Windows 10 PC
Sometimes resetting your device can solve this error. Windows 10 reset is performed by following simple steps.
- Restart your PC for few times and press ‘Troubleshoot’.
- Enter the option ‘Remove everything’.
- Click ‘Only the drive where Window is installed’ and also click ‘Just remove my file’.
- Last, enter the ‘Reset’ button for completing the process.
Solution 9: Replace The NTUSER.dat file
In the user profile service, the log-in issue can happen on Windows 10 because of a corrupted NTUSER.dat file. To replace this file just go to C:UsersDefault and keep the NTUSER.dat file to a different folder. Now, open C:UsersPublic folder and go to the NTUSER.dat file for locating that file and copy it to C:UsersDefault folder. Now, your process is done and check the error.
Keep watching our articles and try to apply all the solutions carefully. We hope that your issue is solved completely.