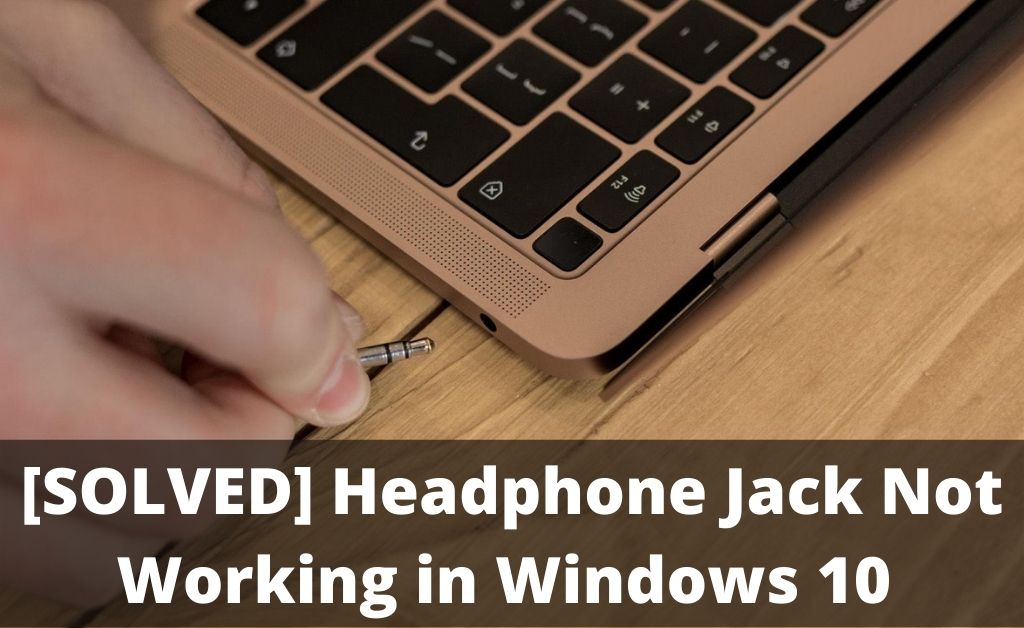
Is your headphone jack not working from your Windows 10 personal computer? And because of that, you are not being able to enjoy your music and videos?
Then, let us tell you that there is absolutely no reason to get all frustrated about it. As it is something that you will be able to fix all by yourself.
You are going to need proper technical instructions for that, something that we have covered here in this article.
Although Microsoft Windows is not in any way infamous for a lot of technical glitches. But still, like any technology that you can find, this one is also not free of all trouble.
You are going to face technical problems here and there. And the headphone jack not working Windows 10 is one that a lot of users have reported about.
Because of this issue, you will not be able to do things like video editing, mixing and such. Basically, anything that involves proper sound. So, let us get into more details of this.
Reasons Why you are Facing the Headphone Jack not Working Issue
An important discussion that we should have before going ahead with the solutions to have a look at the possible reasons for which you are facing this problem.
If you have that information, then that is going to give you two specific advantages to help you fix this problem.
- The first one among them is that with a complete understanding of the technical facets of this issue you will be able to avoid a lot of the technical glitches which you might have caused accidentally.
- As for the second advantage, you are going to find it much easier to understand the instructions. Thus, you will be able to execute the instructions a lot faster and with a lot more accuracy.
Underlying Causes:
- In this section of the article, we have covered the reasons why you face the headphone jack not working problem.
- A very trivial, but at the same time, rather common issue that you might face this issue are unclean headphones.
- With frequent use, dirt and dust accumulate in the headphone and that can be really problematic. Through physical damage, it can cause your favorite headphones to not work with your PC.
- Again, if the format of the audio that you are trying to play is not compatible with Windows 10. Then, that can also be the reason that you are not able to hear any sound from your headphones.
- Now in the matter of system settings, there are certain f that actors that can cause you problems. If your audio drivers do not have the headphones set as the default audio device.
To properly run the audio system that is a part of the computer system framework you will have to make sure you have got the latest updates for the drivers. Otherwise. you will face random problems.
How to Resolve the Headphone Jack not Working Issue: Step by Step
Now, that we have listed all the possible reasons behind the headphone jack not working issue, it is time to go ahead and take a look at the different solutions to this problem.
The best thing will be if you can identify what the exact issue is which is triggering this problem as of now. That way you will be able to go and apply the solution to that right away.
We have covered all the solutions that are there to this problem and you will find them right here. But if you do not have all that information, then also there is going to be no problem whatsoever.
Apply these steps one by one and that is going to resolve the issue for you once and for all.
Get the Updates for the Audio Driver
System drivers are very important as you might know that keeping them up to date is critical. Also, if you are facing this particular issue then searching for and then applying the updates can solve the problem.
Here are the steps for this process that you will need.
- Open up the Windows Device Manager, and then look for the audio device that is working with your computer.
- Once you find the name on the list of the devices available, right-click on it. And then from the dropdown list of options that come up, click on the Update Driver Software option.
- In the next window, click on the Search automatically for the updated driver software option. This is going to start the scanning process of the updates.
- Wait till the system has found any updated files which are available for you. Then, from the list of available updates, click on the one for your audio driver.
Wait for the installation of the updates onto the audio driver of your device. After this is over, just restart your computer once, and the updates will be active.
With this, the headphone port will start working properly all over again. But if this process does not work, then go to the next solution on this list and apply that.
Make Sure that Headphone is the Default Audio Device
If the headphones are not set as the default device which the computer sends the audio signals, then you can face this issue. And to fix that, you will have to correct the settings.
Here is the process that you are going to need to make that happen.
- On the home screen of Windows 10, look for the speaker icon which is the Sounds control window.
- When the window opens, look for the Playback tab and click on it to open it up.
- Once you are in the Playback tab, look for the Headphones option and click on it.
- After this go to the Hardware & Sound settings section and there you are going to find the requisite options.
- Look for the Headphones option and click on it as you come across it. Then, from the list of options that will be there, click on the Set default option.
Note: Make sure you have done this under the Headphones category and not the Speakers.
- To complete the process, click on the OK button, which you will find on the bottom right-hand side of the window.
After you have done this, just go ahead and restart the computer to apply the changes that you have made. If this was not fruitful for the purpose of resolving this issue, then go and apply the next method.
Alter the Realtek HD Audio Manager Settings
The Realtek HD Audio Manager is a very useful audio control software tool, which can help you get the perfect sound. But with the same things, if the settings are not in the correct order, then that can cause this problem.
Thus, to prevent this brilliant software audio control tool from being counterproductive you will have to reconfigure the settings, and here is how you can do that.
- Open up your computer and then go to the Realtek HD Audio Manager window. You are going to have an icon on which you will have to click on.
- Once you are in that window, look for the little folder icon. This is going to be on the top right-hand side.
- Then, look for the Disable front panel jack detection section. And as you find it, click on the checkbox next to it.
- Finally, to finish the process, click on the OK button and that will close the window.
Thus, after you have made that particular tweak to the settings in the Realtek HD Audio Manager, it is going to get your headphone jack working again.
Remove the IDT Audio Device
The IDT Audio Device can also be very problematic in certain scenarios. So, to fix the technical glitch that comes with this from the very root. You will have to disable it and then delete it.
Here are all the steps that will help you do this.
- To access this, you will have to go and open up the Windows Control Panel. Press the Windows key and the X key at the same time.
- Now, from the dialogue box that will come up on the screen, look for the Control Panel option. Click on it to open up that section.
- Switch to the Large icons view and after that open up the Programs and Features section.
- Here, you will get the option for uninstalling the IDT Audio Driver from the list of options.
- As you find it, click on the Uninstall option that you are going to find right next to it.
In this way, you will be able to uninstall and remove the IDT Audio Driver. Just restart your computer after this to apply all these and get audio output from the headphone jack.
To Conclude
After going through all the solutions that are there in this article you are going to be able to resolve this issue in a very straightforward manner.
But still, there is a chance that the solutions might fail to deliver the necessary technical fix. In that case, it is very likely that there is a problem beyond the scope of this article.
For that, you are going to need the help of expert professionals to fix that properly. If that is the thing you need, then do not back down from getting the help of tech support services.


